
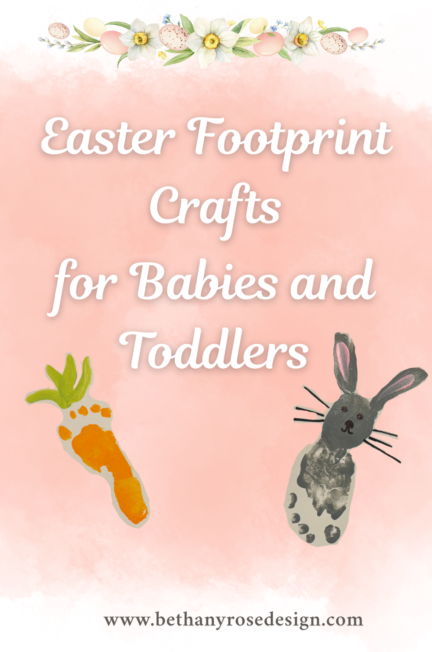
My husband and I welcomed our little girl, Claire, at the beginning of last month and it has been wonderful getting to take care of her, get to know her, and watch her grow each day. Although our newborn daughter is a little over a month old, I have been looking forward to doing crafts with her – especially ones that involve her handprints and footprints!! My family has absolutely loved receiving these homemade cards for Easter.
These crafts are fairly simple if you don’t mind a little paint, a little mess, and a quick wash up of your baby/toddler! Plus, you don’t have to be a pro – These crafts are meant for memories not to be picture perfect.
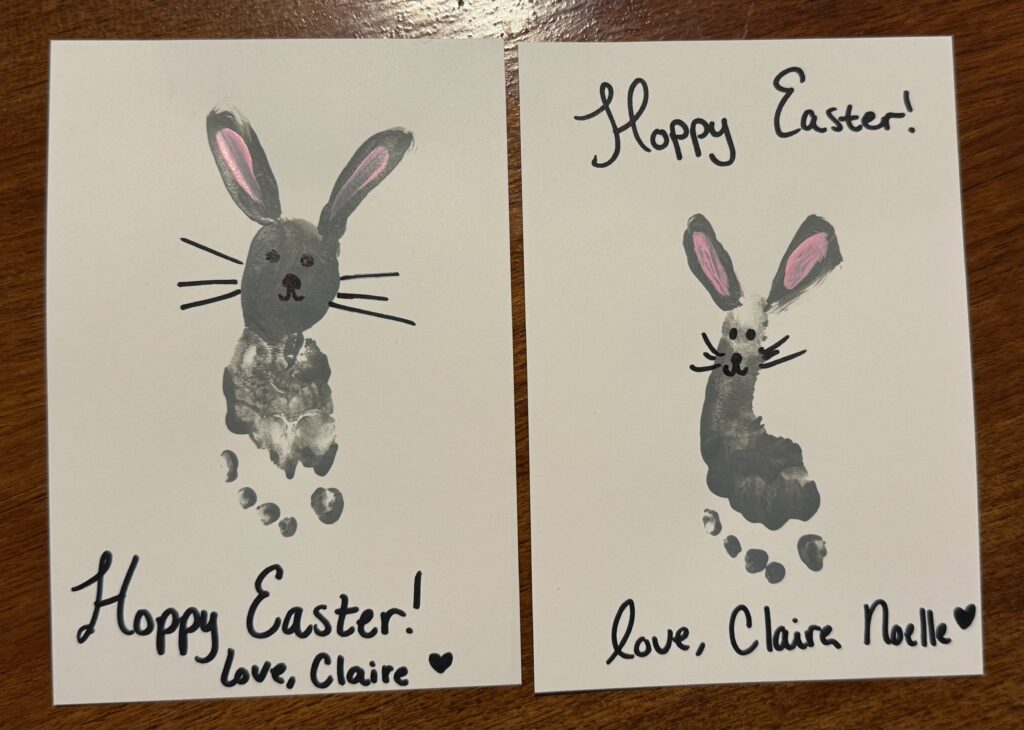
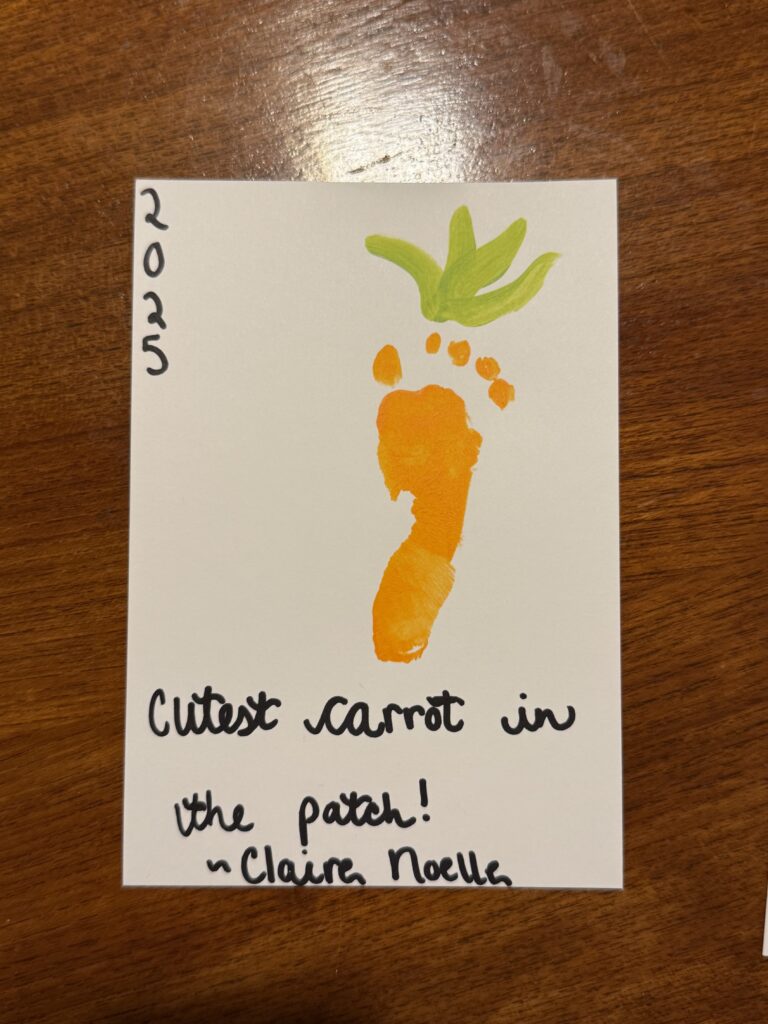
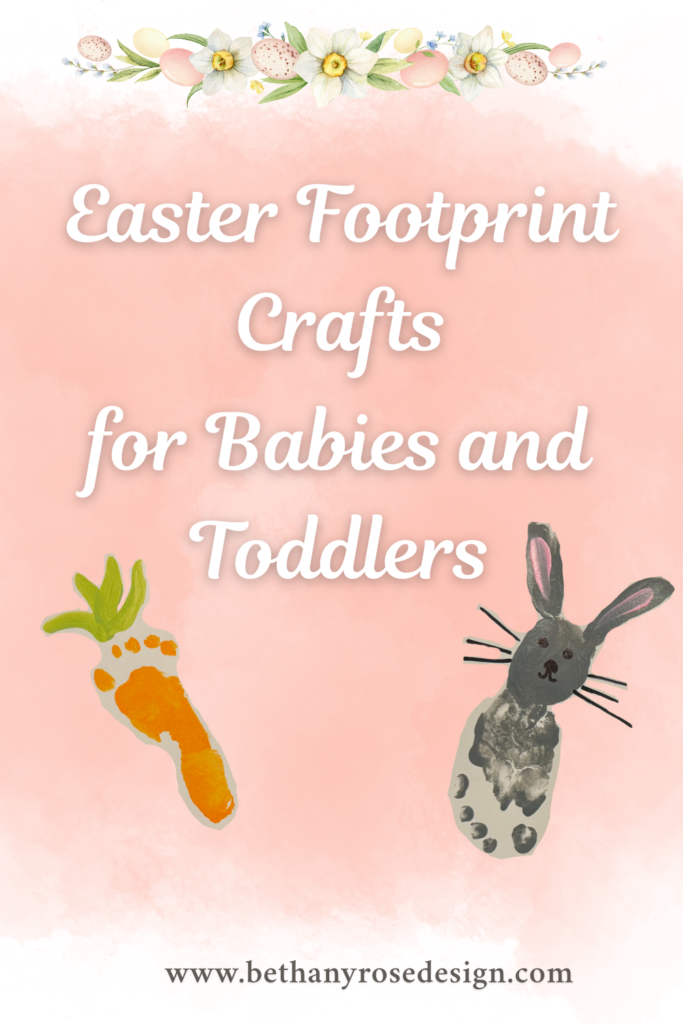
I loved using her footprints to create these little bunnies and carrots. For the bunny, I added a sweet message: “Hoppy Easter!”, but there are plenty of other puns or play on words that you could use, too! Such as “Some Bunny Loves You”, “I Love You From My Bunny Ears to My Toes”, or a sweet message to share, “My First Easter”.
What you’ll need: Cards, Paint, Foam Sponge Brush, Paint Brush, Paper Plates, Sharpie/Pen/Marker.
Originally, I had ordered a set of Crayola paints to use for this project but when it came down to it, I was just too tired to even think about mixing paint colors. I wanted something easy, especially knowing that my little one may get fussy during the project anyway! I ended up purchasing non-toxic acrylic paint bottles from Target’s Mondo LLama brand that were specific to the shade I was hoping for. I made sure to apply paint to her foot right before the project and washed her foot as soon as we were done 🙂
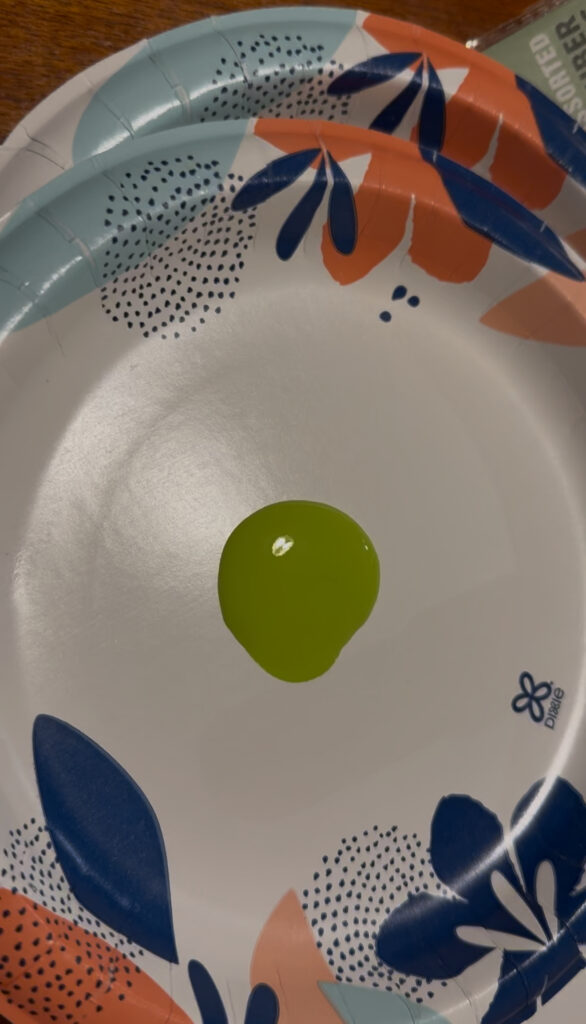
The colors I chose were “Comfy Sweatpants” – a cool gray, “Sugary Cereal” – a pastel pink, “Pumpkin Party” – a fun, bright orange, and “Green Apple” – which looks exactly how it sounds! haha
I purchased the Foam Sponge Brushes and Paint Brushes from Amazon. Bonus, both were fairly inexpensive!
HOW TO: Bunny Footprints
Step 1: Set out the cards/paper on a flat surface. Add paint to paper plate and uncover baby’s foot.
Step 2: Use foam sponge brush to apply gray paint to baby’s foot. (I tried putting baby’s foot directly into paint and then onto the card and it became too thick and globby. Honestly, I could barely tell it was a footprint! lol)
Step 3: Gently press baby’s foot onto card. If your baby doesn’t like this, then bring the paper to the baby’s foot and press the paper onto the bottom of the foot starting from the toes down to the heel. (I tried going from the heel to the toes and her toe prints did not transfer as well.) Wash baby’s foot when finished.
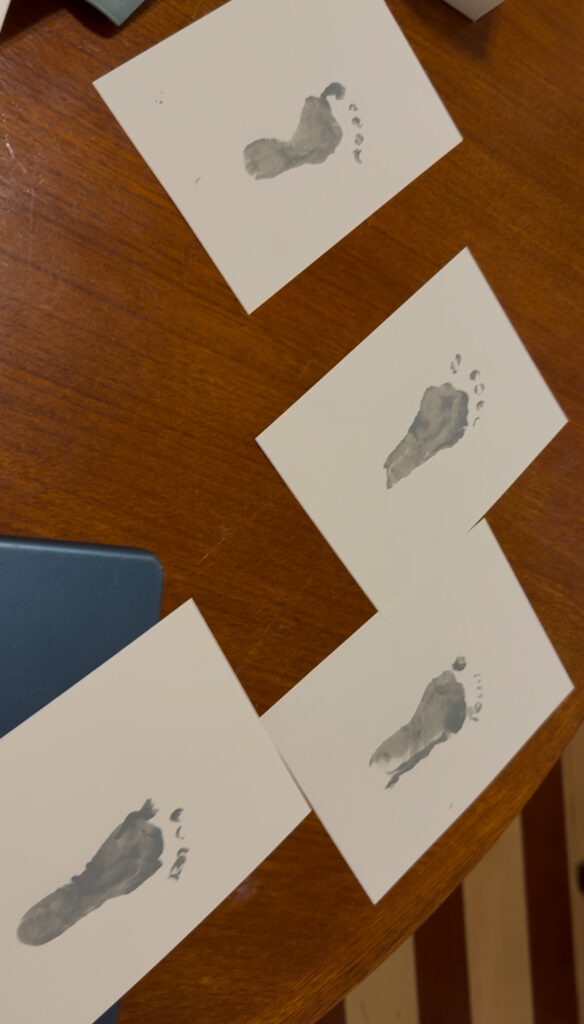
Step 4: Let papers dry and return to add ears. Use the edge of the foam brush to add bunny ears to the heel of the footprint. The toes should be at the bottom of the page.
Step 5: Let papers dry and return to add pink paint to the ears with a paint brush. Use a Sharpie or marker to add the bunny’s eyes, nose, mouth, and whiskers! Now’s the time when you can add a message as well! 🙂 As you can see from my crafts – they look different and aren’t perfect, but somehow that’s what is perfect about it!
Step 6: Let dry and then gift to your loved ones. Remember to keep one as a keepsake for their baby/memory box! You could even put into their baby book.
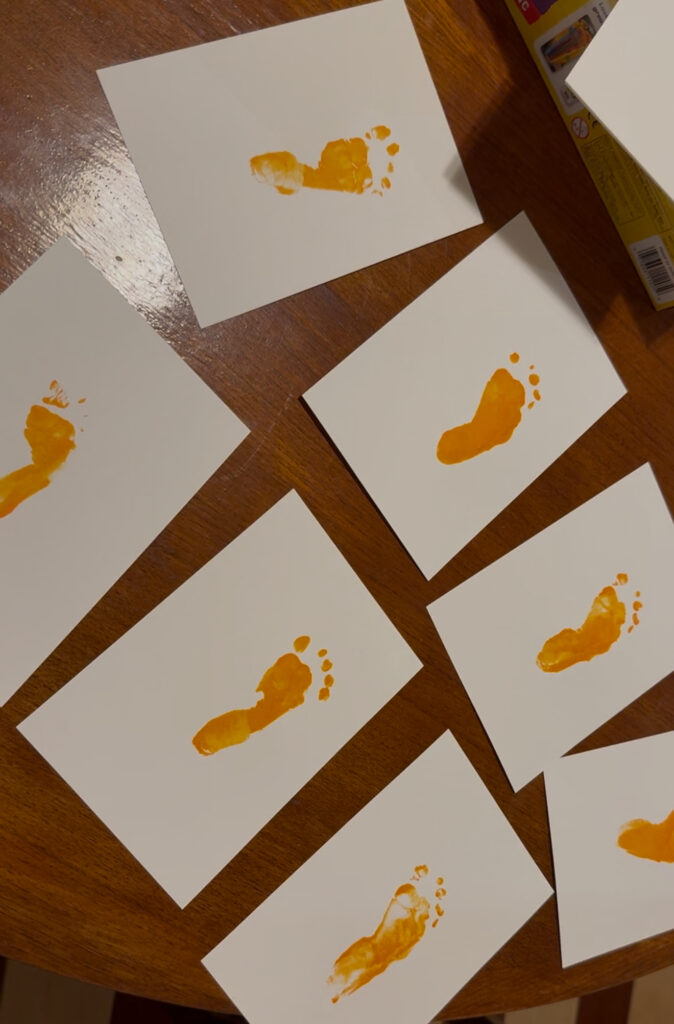
HOW TO: Carrot Footprints
Step 1: Set out the cards/paper on a flat surface. Add paint to paper plate and uncover baby’s foot.
Step 2: Use foam sponge brush to apply orange paint to baby’s foot.
Step 3: Gently press baby’s foot onto card. Again, if your baby doesn’t like this, then bring the paper to the baby’s foot and press the paper onto the bottom of the foot starting from the toes down to the heel. (I tried going from the heel to the toes and her toe prints did not transfer as well.) Wash baby’s foot when finished.
Step 4: Let papers dry and return to add leaves. Use a paint brush to paint green leaves – 3 should be enough but get creative with it! The toes should be at the top of the page and the heel should be toward the bottom, to imitate the shape of a carrot.
Step 5: Let papers dry and return to add a sweet message. As you can see from my crafts I went with “Cutest Carrot in the Patch!” – again, they look different and they certainly aren’t perfect, but somehow that’s what is perfect about it!
Step 6: Let dry and then gift to your loved ones. My family LOVED receiving these cards for Easter!! Remember to keep one as a keepsake for their baby/memory box!
Have a happy Easter!! I hope you enjoy doing this craft with your little one! Let me know how yours turned out in the comments 🙂

Don’t forget to follow my accounts for more content!